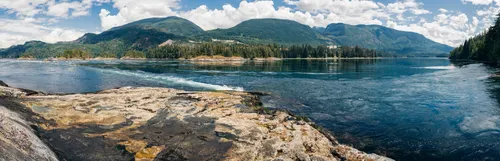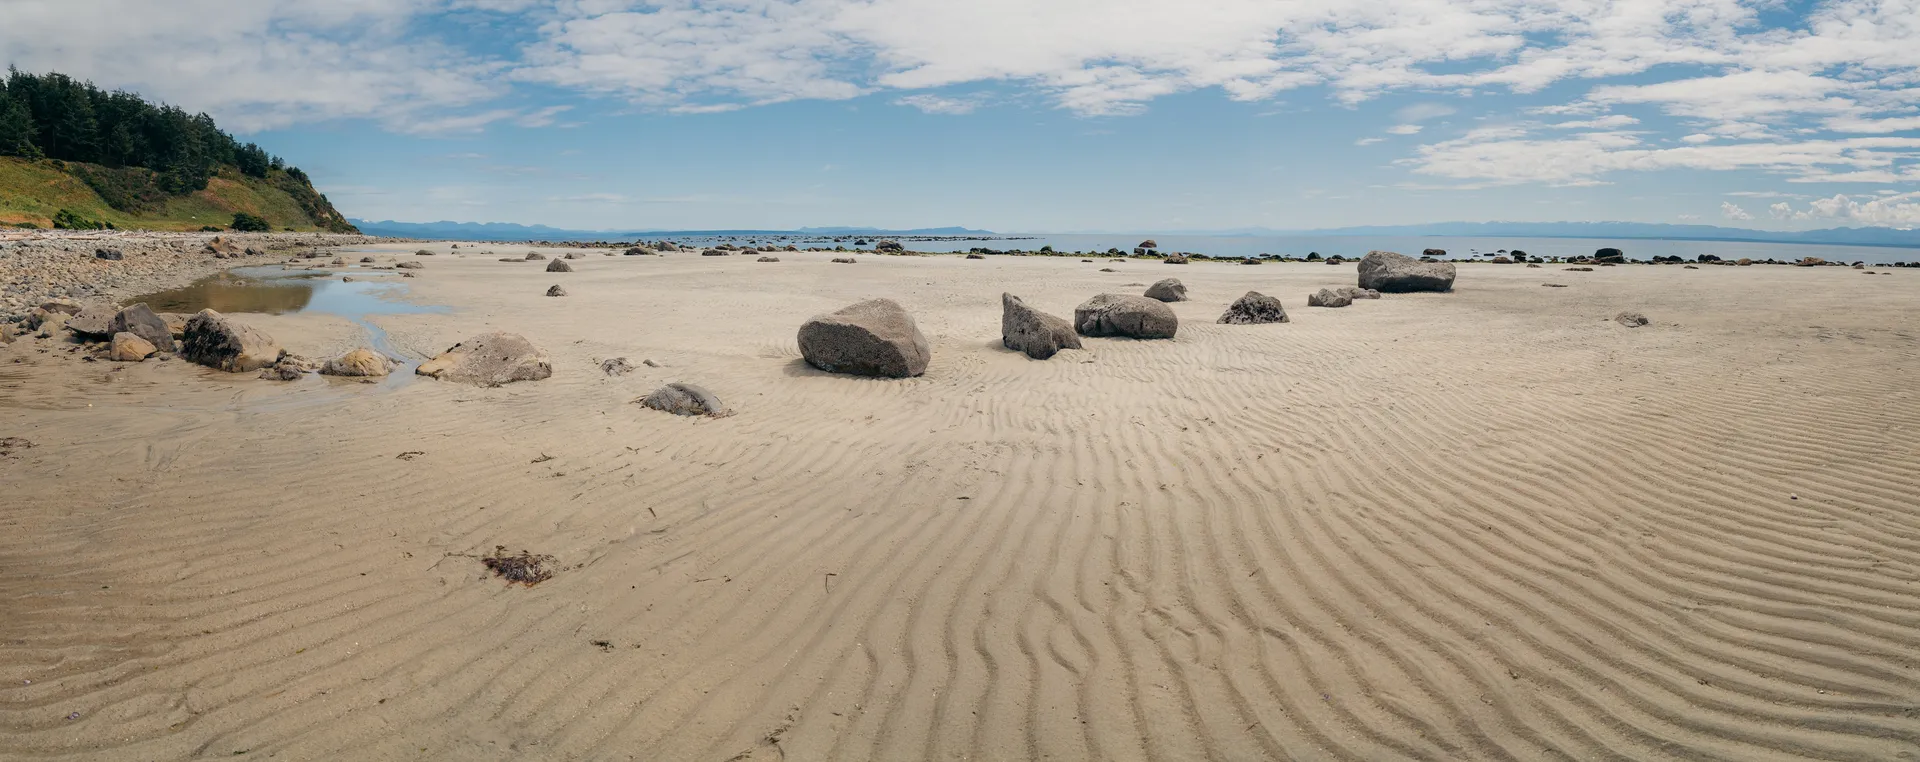
A panorama isn't just a wide photo — it's usually several photos, shot in sequence and stitched into one. Done well, nobody notices the seams. Done badly, you get warped horizons, ghosted trees where branches moved between frames, and exposure bands where the sky visibly darkens across the image. The whole thing comes down to what you do in the field, not what you fix afterward.
Before You Shoot a Single Frame
- Switch to manual exposure and manual white balance — auto settings will shift between frames and create visible bands when stitched
- Use a tripod with a level bubble, or at minimum a level app on your phone
- Shoot in portrait orientation, not landscape — you'll get more vertical resolution in the final stitched image
- Stitching software: Lightroom's Photo Merge, PTGui, or Photoshop's Photomerge all work well
Lock Your Exposure First
Meter for the brightest part of the scene you're about to pan across — usually the sky — then switch to full manual and lock in aperture, shutter speed, and ISO for the entire sequence. If you let the camera re-meter each frame, the sky will get progressively darker or lighter across the panorama in a way that's obvious once stitched.
Overlap Every Frame by 30%
Stitching software needs shared detail between adjacent frames to line them up correctly. Aim for roughly 30% overlap between each shot as you pan — less than that and the software can misalign or fail to merge frames cleanly; more than that just means extra frames to process for no benefit.
Watch for Moving Elements
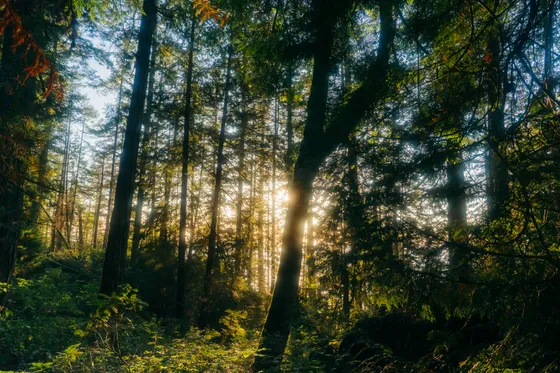
Water, clouds, and branches all move between frames, and stitching software can't reconcile something that's in a different position in two overlapping shots — you'll get a ghost or a hard seam. Shoot panorama sequences quickly, and avoid framing that puts fast-moving water or wind-blown trees right at a frame boundary if you can help it.
Rotate Around the Lens's Nodal Point
For most landscape panoramas with nothing very close to the camera, this matters less — but if there's a foreground element near the lens, rotating the camera from the tripod's centre (instead of the lens's actual optical centre) introduces parallax error between frames. A dedicated panoramic tripod head fixes this; for distant landscapes, a normal tripod is usually fine.
Shoot RAW, Stitch Later
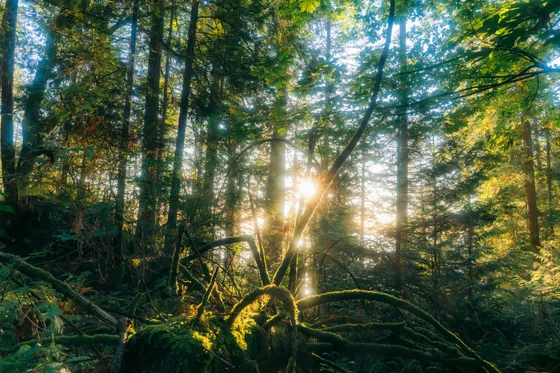
Always shoot the individual frames in RAW. It gives the stitching software (and you, in post) far more room to correct small exposure or colour mismatches between frames than a compressed JPEG sequence ever will. The stitched output can always be exported to whatever format you need afterward.
Crop the Final Stitch Deliberately
Stitched panoramas come out with an irregular, jagged edge from the merge process — you'll always lose some frame to cropping. Plan your original sequence with that in mind, giving yourself extra frame on each end so the crop doesn't cut into the part of the scene you actually wanted.
A good panorama should feel like a single moment, not a montage. The technique only succeeds when you can't see it working.
Wrapping Up
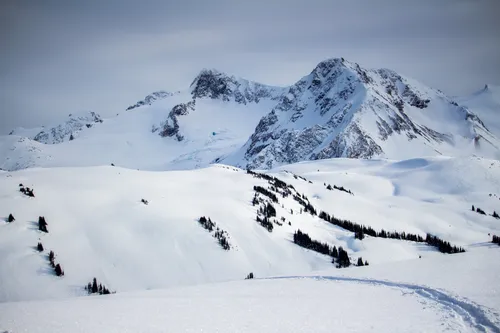
Panoramic photography rewards patience in the field more than skill in post-processing — a clean, well-planned sequence stitches itself together in minutes, while a rushed one can take hours of manual correction and still show seams. British Columbia's wide-open ridgelines and lake valleys are some of the best subject matter for this technique anywhere; there's rarely a single frame wide enough to do the view justice.
See more panoramic and wide-format work in my Panoramas portfolio, or read about composition fundamentals that apply just as much to a stitched panorama as a single frame.