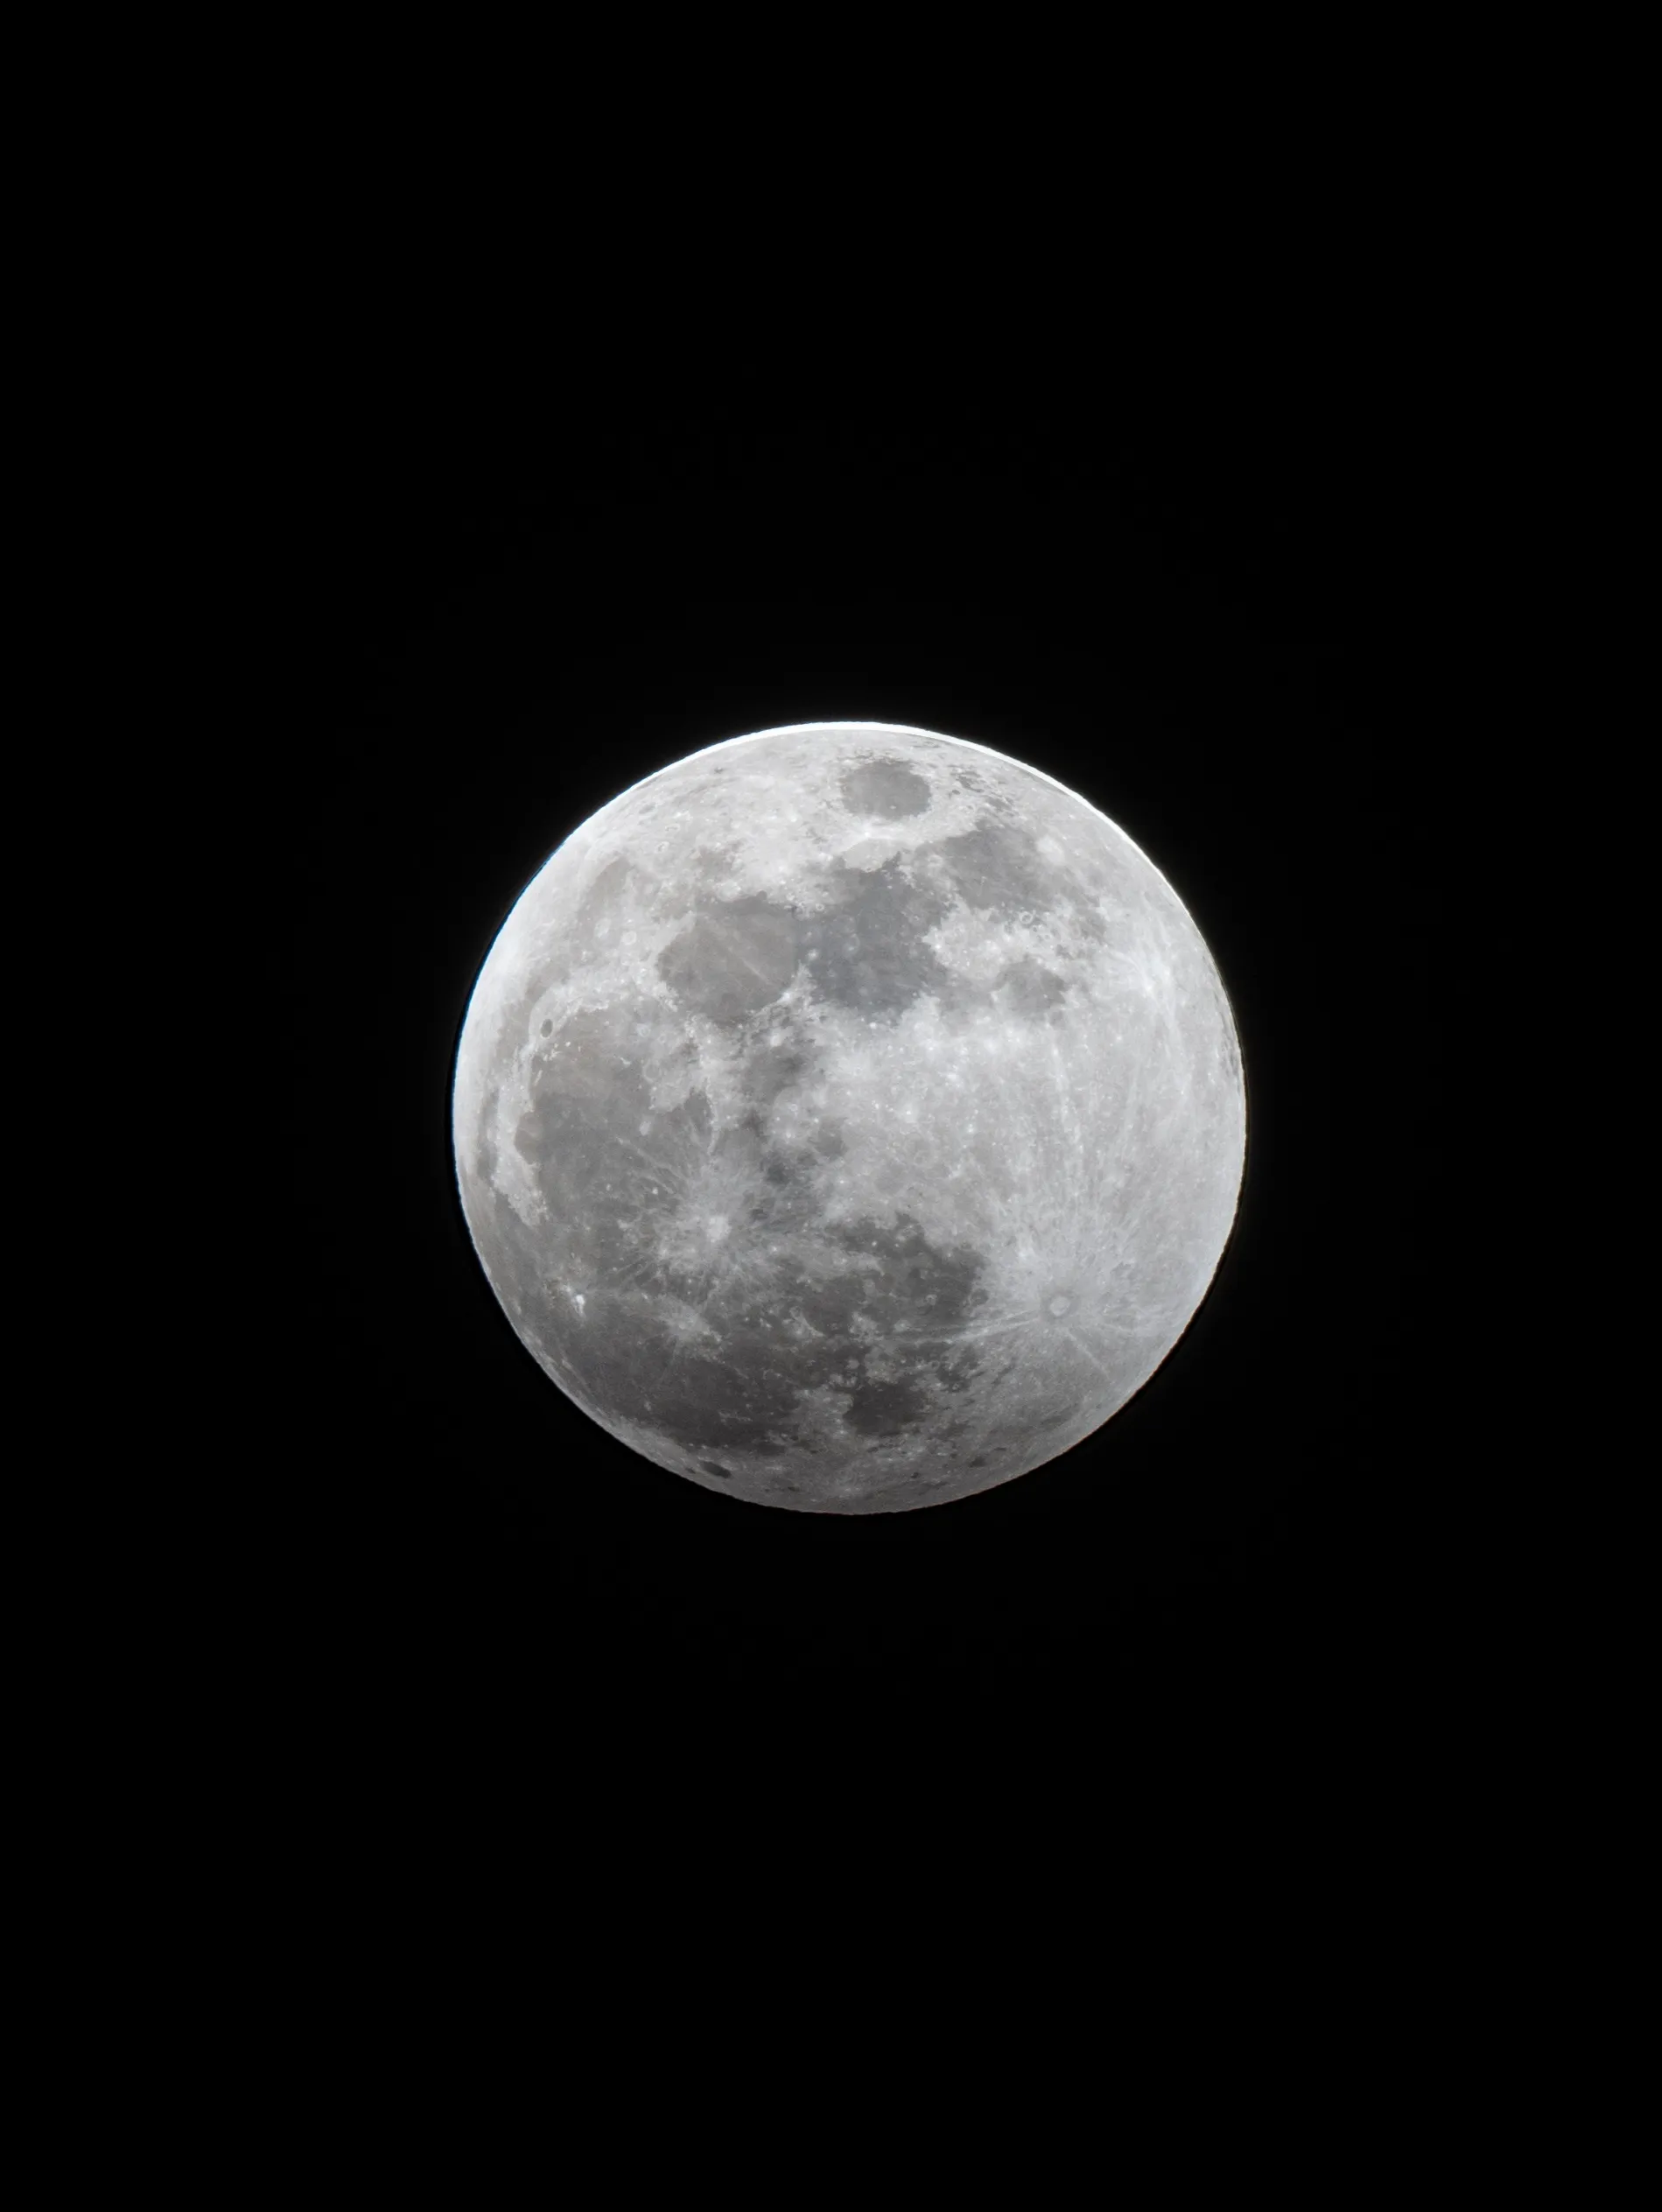
A lunar eclipse is one of the few astro events you can photograph handheld, from your own backyard, with equipment you probably already own. It's also one of the most unforgiving — the moon's brightness changes dramatically as the Earth's shadow moves across it, and if you set your exposure once and walk away, you'll come back with a folder of either blown-out white discs or nearly black nothing.
What You Actually Need
- A telephoto lens — 300mm minimum, 400–600mm is genuinely better. The moon is smaller in frame than people expect
- A tripod. Even at fast shutter speeds, the reach of a long lens amplifies any shake
- A remote shutter or your camera's 2-second timer, to avoid touching the camera during the shot
- A stills app or eclipse timing chart for your location, so you know when totality actually starts
Know the Timeline Before You Start
A full lunar eclipse runs through distinct phases — penumbral, partial, totality, then back out the same way. Totality is when the moon turns that deep red-orange colour and is the shot everyone wants, but it's also the darkest phase and the easiest to get wrong exposure-wise. Look up your local eclipse timing in advance so you're not guessing in the moment.
Exposure Changes Constantly — Chase It
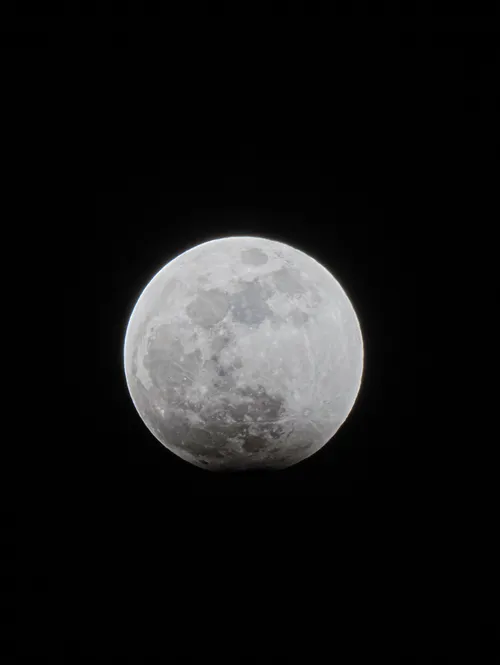
Before the eclipse starts, a full moon is bright enough to shoot at roughly ISO 100, f/8, 1/125s. As the shadow creeps across and totality approaches, that same exposure will read almost black. You'll end up opening your aperture, raising ISO, and slowing shutter speed step by step through the whole event — check your histogram constantly, don't trust your eyes.
Shoot Manual, Always
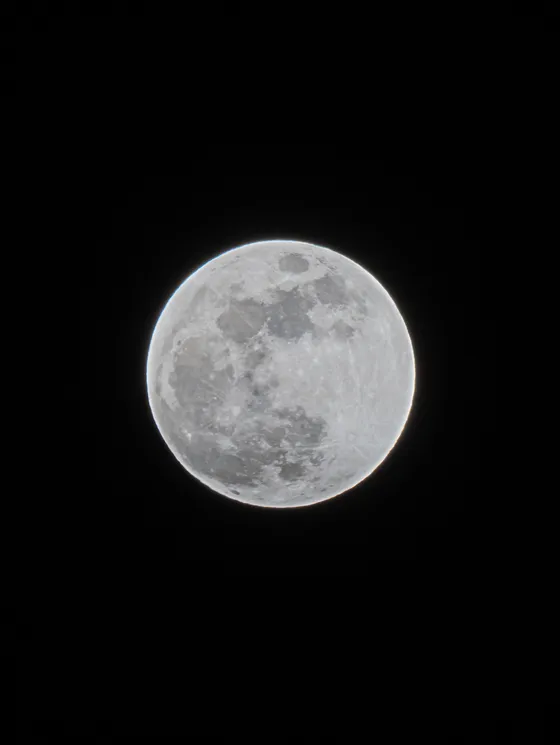
Auto-exposure modes will fight you the entire time — the camera doesn't know it's photographing a small bright object on a black background and will consistently try to brighten the whole frame, blowing out the moon. Full manual mode, RAW format, and a willingness to check and adjust after every few frames is the only way through this cleanly.
Focus Manually, on the Moon's Edge
Autofocus struggles against a mostly black sky. Switch to manual focus, zoom in using your camera's live view magnification, and focus precisely on the edge of the moon where the craters and terrain give the most contrast to focus against. Lock it and don't touch it again unless you change your zoom.
Bracket Through Totality
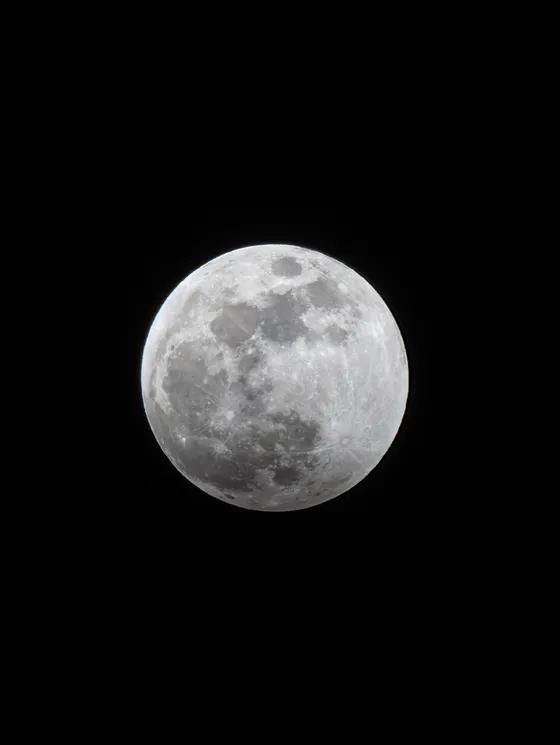
During totality, bracket your exposures — shoot the same frame at several different settings in quick succession. The reddish glow varies a lot eclipse to eclipse and even minute to minute, and bracketing means you walk away with options instead of one guess that might be wrong.
Get There Early, Stay Warm
Eclipses run for hours start to finish. Set up well before the partial phase begins so you have time to dial in focus and framing while the moon is still bright and easy to see, and dress like you'll be standing outside doing nothing but watching a clock for a while — because you will be.
The best lunar eclipse photos aren't the sharpest — they're the ones where the exposure actually matches how dramatic the moment felt.
Wrapping Up
Lunar eclipses are one of the most accessible astro events to shoot because there's no travel required and no dark-sky location needed — you can do this from a driveway. The technique is really just disciplined manual exposure and patience through a slowly changing scene. Once you've shot one, you'll have the workflow down for every eclipse after.
For more night-sky technique, see my guide to star trail photography at Porteau Cove, or browse the Astro & Low Light portfolio for more examples.