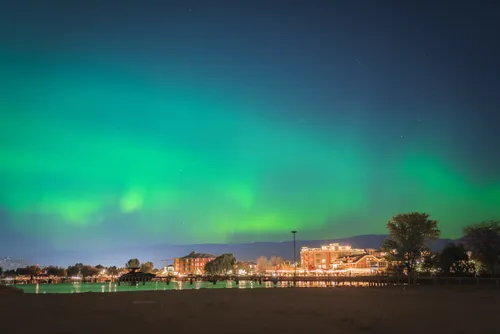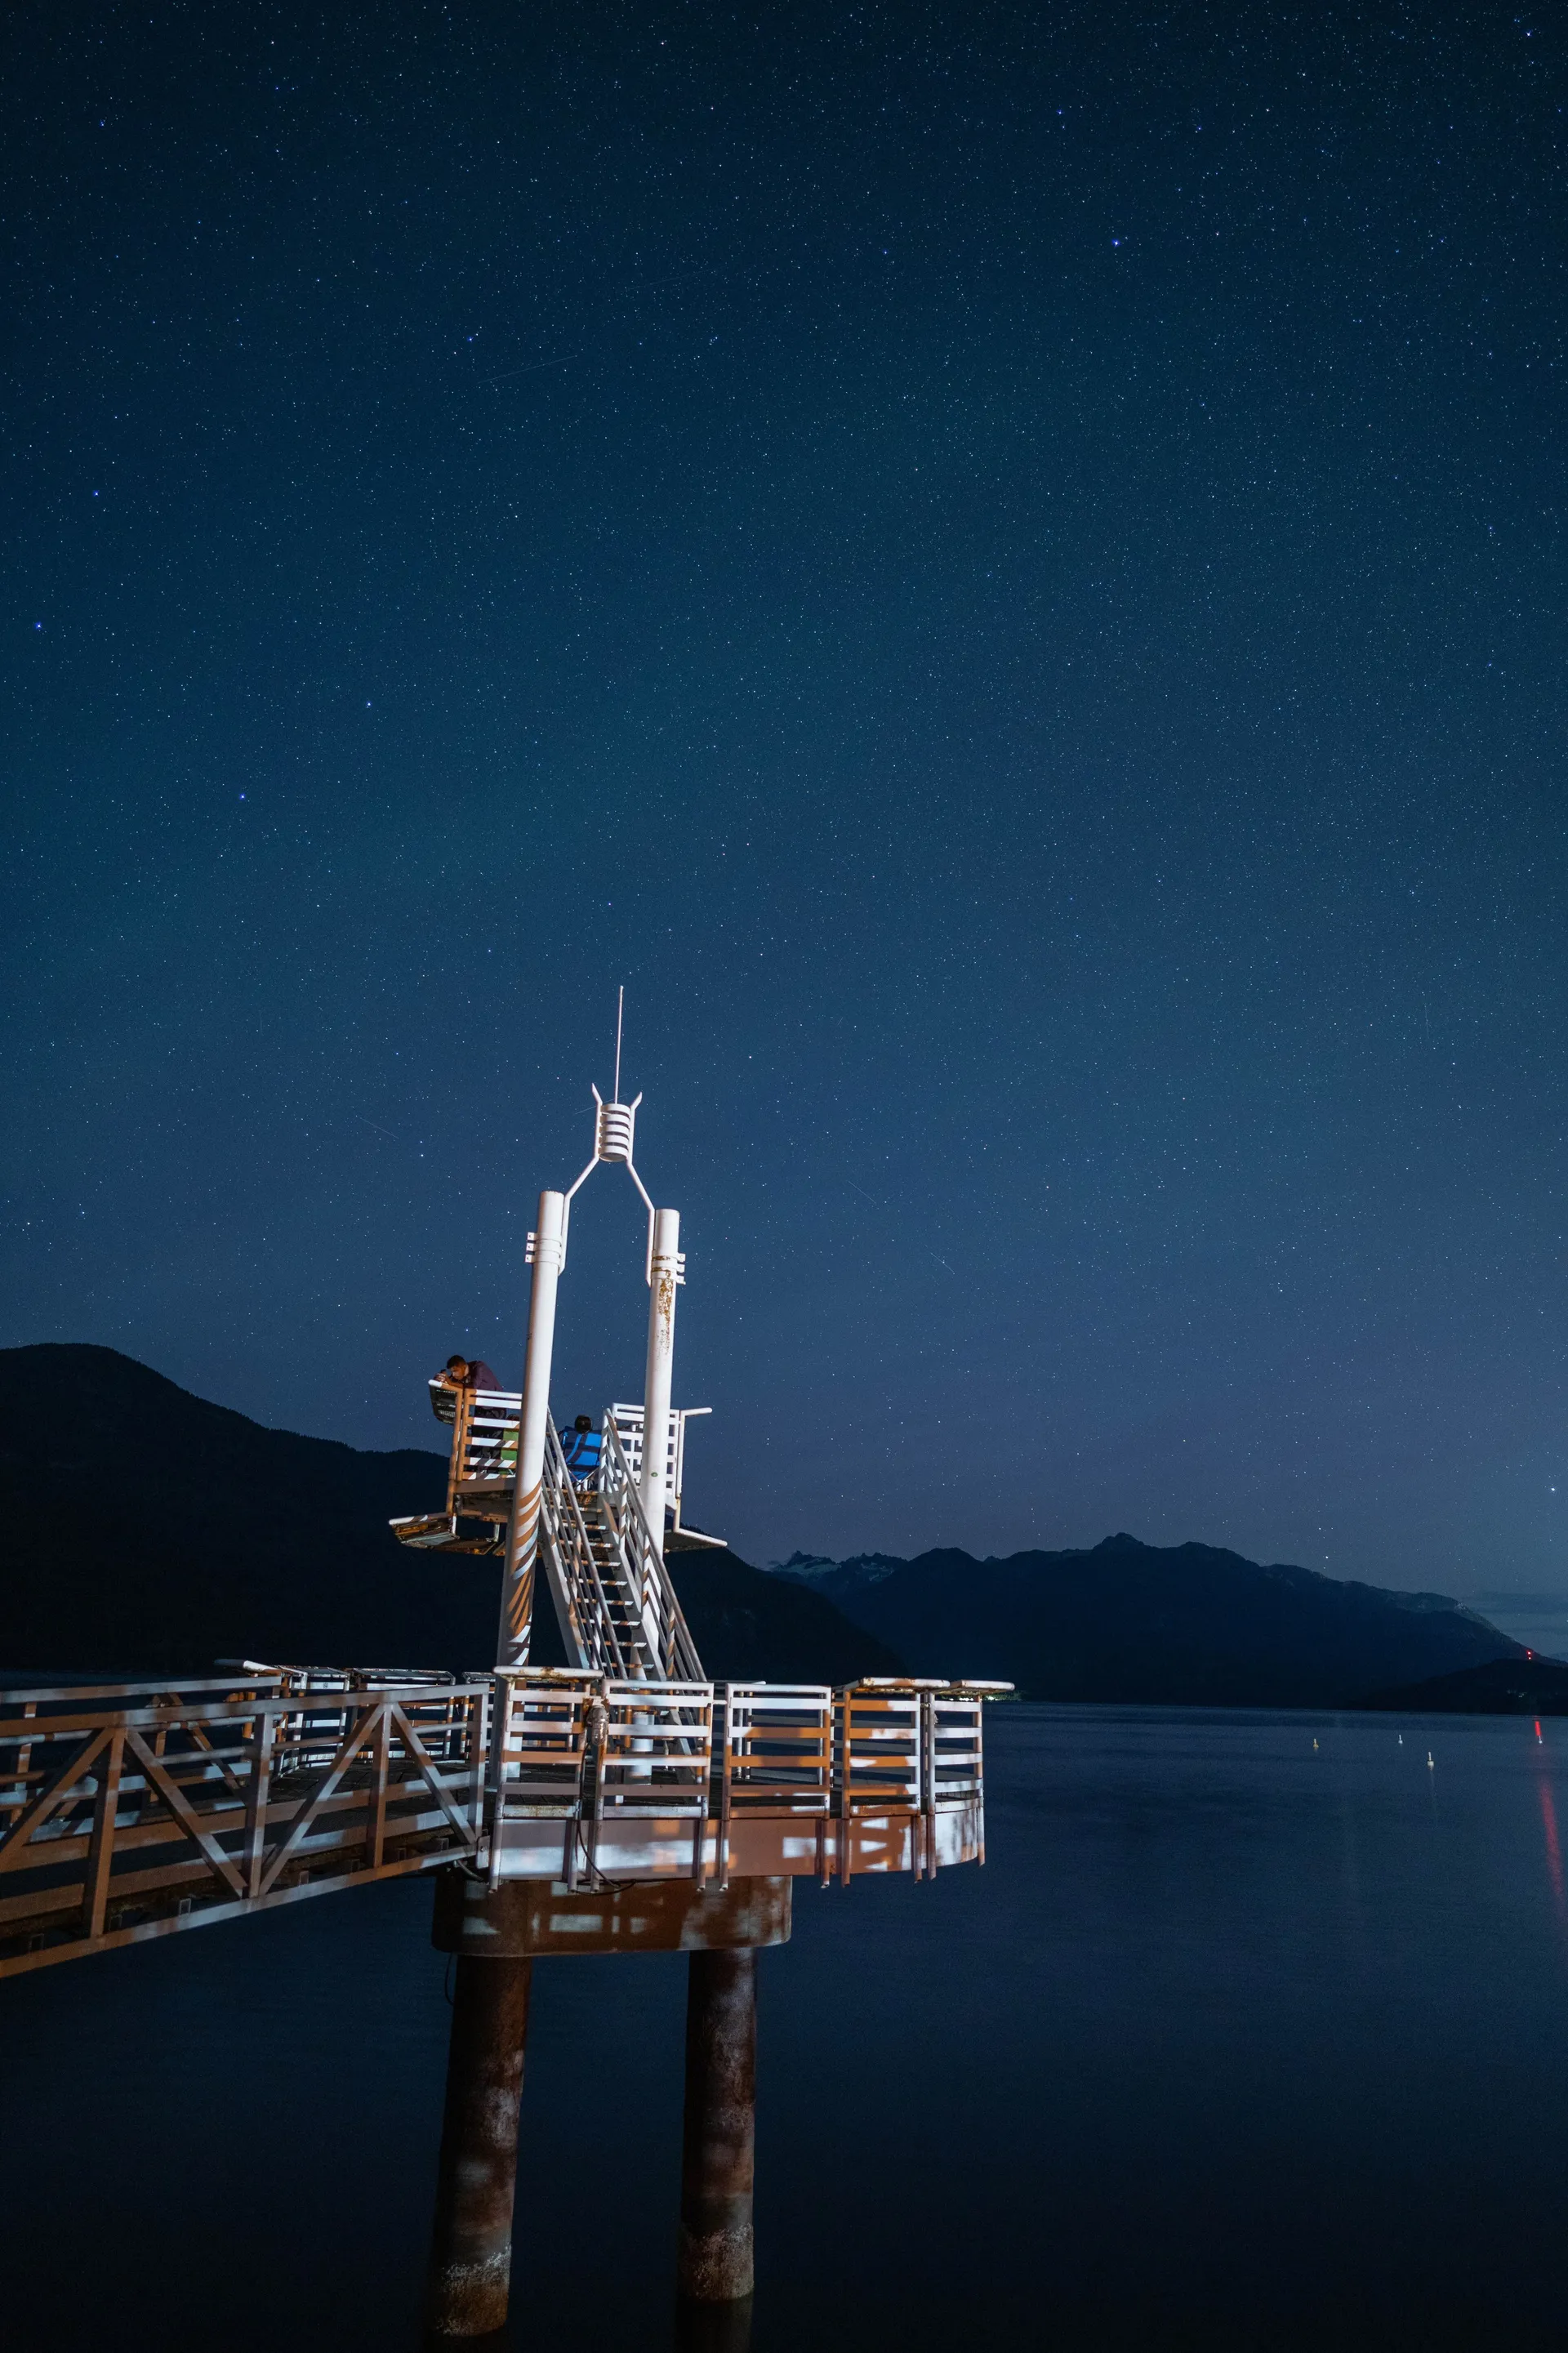
This shot is 304 exposures stacked into one frame. Not one long exposure — 304 separate ones, shot back to back over roughly two and a half hours at Porteau Cove, then merged in software that lines up every star's arc across the sky. It looks complicated from the outside. It isn't, once you know the workflow.
Why Stack Instead of One Long Exposure
- A single 2-hour exposure would blow out any ambient light and add heat noise you can't remove
- Stacking lets you throw out any single bad frame (a plane, a flashlight, a cloud) without losing the whole shot
- You get a clean, noise-free foreground exposure separately, then blend it in
- Free stacking software: StarStaX (what I use), Sequator, or Photoshop's Lighten blend mode manually
Pick a Spot With a Fixed Point
Star trails need something in the frame that doesn't move — a pier, a tree line, a mountain silhouette. Porteau Cove's old pier structure works well because it gives the eye an anchor while the sky rotates around it. Without a foreground anchor, a star trail shot just reads as an abstract smear.
Camera Settings for Each Frame
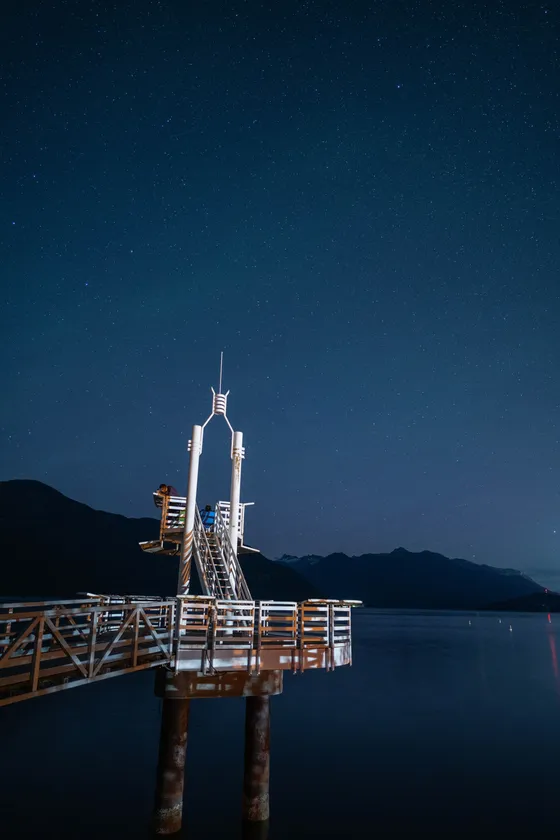
I shoot each individual frame at roughly ISO 800–1600, f/2.8, 25–30 seconds — just under the point where stars start to visibly streak within a single exposure. You want pinpoint stars in each frame; the trail effect only happens once you stack dozens of them together.
An Intervalometer Is Not Optional
You need the camera firing continuously, back to back, with no gap between frames — a gap shows up as a broken segment in the trail. Set your intervalometer's interval to match your shutter speed exactly (or a second longer), and let it run. Most modern mirrorless bodies have this built in; if yours doesn't, a $20 external intervalometer does the job.
Shoot More Frames Than You Think You Need
304 frames at 30 seconds each is about two and a half hours. Longer runs make longer, more dramatic trails. An hour will give you a noticeably shorter arc than two and a half. Decide how dramatic you want the trail to look before you start, then plan your session length around it — you can't add more later.
Lock Down the Tripod — Fully
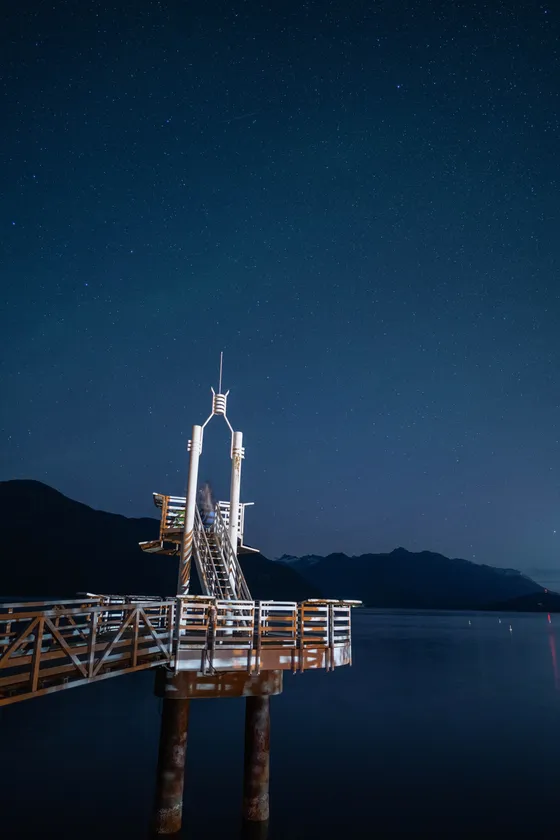
Any movement across a 300-frame sequence ruins the whole set. Use a heavy tripod, hang weight from the centre column if it's windy, and don't touch the camera once it starts. Porteau Cove sits right on the water, so wind off the inlet is a real factor — check conditions before committing to a multi-hour run.
Stack With StarStaX
Import the full sequence into StarStaX, set the blend mode to Lighten, and let it process. It only keeps the brightest pixel from each frame at every position, which is exactly what builds the trail — each star's position across all 304 frames gets layered into one continuous arc.
Blend in a Clean Foreground
Stacking mode brightens everything, including a foreground you may not want blown out. Shoot one extra frame early in blue hour — while there's still some ambient light — expose it properly for the pier and landscape, then blend it in as the base layer under the stacked sky.
The hardest part of a star trail shot isn't the technique — it's the patience. You set it running and you wait. Bring a chair.
Wrapping Up
Porteau Cove is about 40 minutes north of Vancouver on the Sea-to-Sky Highway, and it's one of the most underrated night-sky locations in the region — dark enough for real stars, with a genuinely interesting foreground instead of just an empty horizon. If you're newer to night photography, this is a good first star trail location: easy access, a fixed structure to anchor the composition, and enough darkness to actually see what you're shooting.
See more night and low-light work in my Astro & Low Light portfolio, or read about photographing the lunar eclipse and the Milky Way at Savary Island for more astrophotography breakdowns.